【Unity】ボタン表示切り替え用拡張スクリプト
Unityでボタンを実装する時、表示切り替えの実装が面倒くさくなったので
汎用処理をまとめたスクリプトを作成しました。
ソース
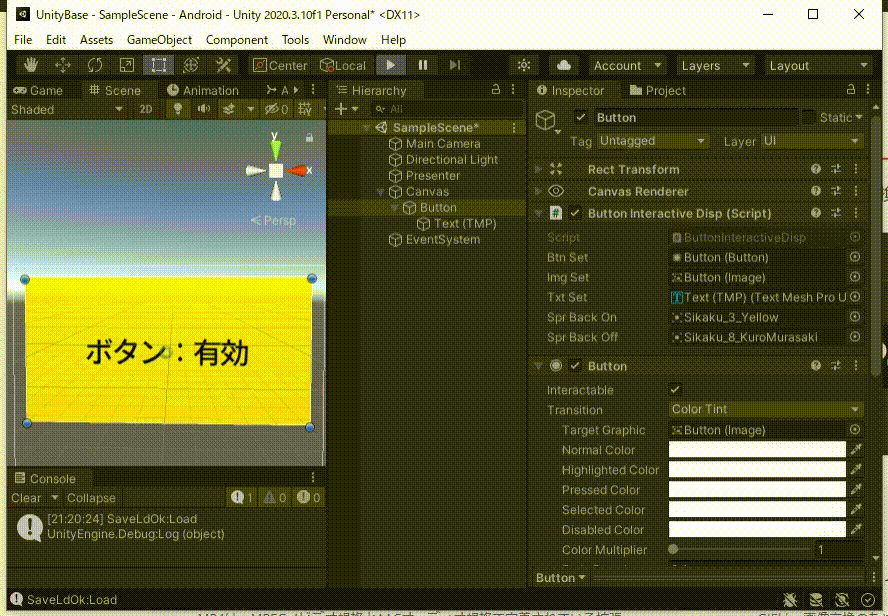
ボタンのinteractableの切り替えを監視して、
画像、文字の表示を切り替える拡張機能になります。
github.com
using System.Collections;
using System.Collections.Generic;
using System.Linq;
using TMPro;
using UniRx;
using UnityEngine;
using UnityEngine.UI;

public class ButtonInteractiveDisp : MonoBehaviour
{
    //Button内オブジェクト
    [SerializeField] protected Button btnSet = null;
    [SerializeField] Image imgSet = null;
    [SerializeField] TextMeshProUGUI txtSet = null;
    //定数:ボタン背景画像 ※画像はInspectorで設定
    [SerializeField] Sprite sprBackOn = default;
    [SerializeField] Sprite sprBackOff = default;
    //定数:ボタンテキスト色
    Color clrTextOn = new Color32(0, 0, 0, 255);
    Color clrTextOff = new Color32(255, 255, 255, 255);

    /// <summary>
    /// オブジェクト内のButtonコンポーネントを検索して設定
    /// </summary>
    protected void FindTransform() => btnSet = btnSet == null ? GetComponent<Button>() : btnSet;
    /// <summary>
    /// ResetイベントはInspectorの設定からも発行できる
    /// </summary>
    private void Reset()
    {
        FindTransform();
        InitDisp();
    }
    /// <summary>
    /// 起動時に表示の初期化とイベント設定を行う
    /// </summary>
    void Start()
    {
        InitDisp();
        //ボタンのinteractableプロパティの切り替わりイベント設定
        btnSet.ObserveEveryValueChanged(btn => btn.interactable)
        .Subscribe(isOn =>
        {
            UpdateDisp(isOn);
        })
        .AddTo(this);
    }
    /// <summary>
    /// ボタン表示初期化処理
    /// </summary>
    private void InitDisp()
    {
        //Buttonコンポーネント取得済み判定
        if (btnSet == null) { return; }
        //ボタン内にImage,Textがあればコンポーネント取得
        imgSet = (Image)btnSet.targetGraphic;
        txtSet = GetComponentInChildren<TextMeshProUGUI>();
        //ボタンの各状態での色をすべて白に設定する
        Color defColor = new Color32(255, 255, 255, 255);
        ColorBlock cb = btnSet.colors;
        cb.selectedColor = defColor;
        cb.highlightedColor = defColor;
        cb.disabledColor = defColor;
        cb.selectedColor = defColor;
        cb.pressedColor = defColor;
        btnSet.colors = cb;
        //現在のinteractableに合わせて表示設定
        UpdateDisp(btnSet.interactable);
    }
    /// <summary>
    /// ボタン表示更新
    /// </summary>
    /// <param name="isOn">interactable設定</param>
    private void UpdateDisp(bool isOn)
    {
        Sprite sprBack;
        Color clrText;
        string textValue = "";
        //背景内容取得
        if (isOn)
        {
            sprBack = sprBackOn;
            clrText=clrTextOn;
            textValue = "ボタン:有効";
        }
        else
        {
            sprBack = sprBackOff;
            clrText = clrTextOff;
            textValue = "ボタン:無効";
        }
        //背景変更
        if (imgSet != null)
        {
            imgSet.sprite = sprBack;
        }
        //文字変更
        if (txtSet != null)
        {
            txtSet.color = clrText;
            txtSet.text = textValue;
        }
    }
}